TUF Manager
License
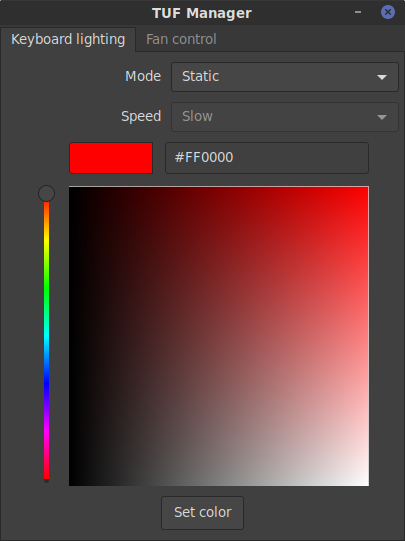
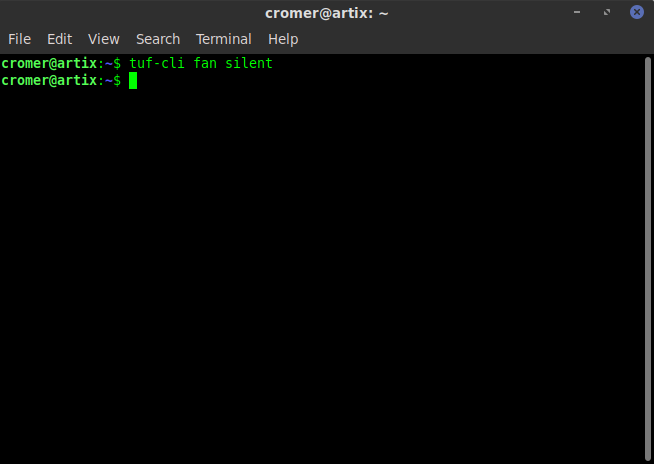
Screenshots


Build requirements
To build TUF Manager the following is needed:
- vala
- valadoc
- glib
- gtk3
- dbus
- polkit
- polkit-gobject
- gmodule-export
Other requirements
This software will only work if using the faustus driver module.
Build options
- valadocs
Build TUF Manager's vala documentation.
- valadocs-deps
Build external valadocs that TUF Manager utilizes and calls.
- build-cli
Build the cli interface.
- build-gui
Build the gui interface.
- build-tray
Build the tray icon
- always-authenticated
Authentication is not required to use the TUF Server that runs in the background as a daemon, if this is set to false polkit is used for authentication. Setting this to false is more secure, but also makes things like auto restore of settings on login impossible to do without a password.
- openrc
Install an OpenRC init script. Ff this option is not set, the init script is still generated during build, just not installed.
- runit
Install a runit init script. If this option is not set, the init script is still generated during build, just not installed.
- s6
Install n s6 init scripts. If this option is not set, the init scripts are still generated during build, just not installed.
- system
Install a systemd unit. If this option is not set, the unit is still generated during build, just not installed.
Usage
There are 3 programs and 1 daemon supplied by TUF Manager.
- tuf-cli
This allows controlling the TUF laptop functions via command line interface.
- tuf-gui
This supplies a graphical interface to control the TUF laptop.
- tuf-server
This is the daemon that runs in the background and handles all requests from both tuf-cli and tuf-gui.
- tuf-tray
This is the tray icon to control the TUF Manager program
Future plans
- Manpage
- Config options for both tuf-gui and tuf-cli
- Notifications of fan mode change via status bar
- Restore last known settings on login via status bar icon